
Blog
Tile & Marble Work 101: A Homeowner’s Guide to Stunning, Long-Lasting Results
Tile & Marble Work 101: A Homeowner’s Guide to Stunning, Long-Lasting Results
If you’ve ever had grout crack, tiles sit unevenly, or marble stain even though it “looked perfect” at first, you’re not alone. I’ve walked into plenty of homes where the finish is beautiful for a few months—then the problems show up: loose corners, dark grout lines, slippery floors, and that dreaded “why is the marble dull already?” moment. Most of the time, it’s not the tile itself. It’s the planning, prep, and install details that got skipped.
This guide gives you a simple roadmap for Tile and Marble Work—so you can choose the right material, set a realistic budget, hire the right contractor, and avoid paying twice.
Quick preview (what we’ll cover):
- Cost and what drives it
- Durability and where each material wins
- Design tricks that look high-end
- Installation must-dos (especially wet areas)
- Maintenance that keeps surfaces looking new
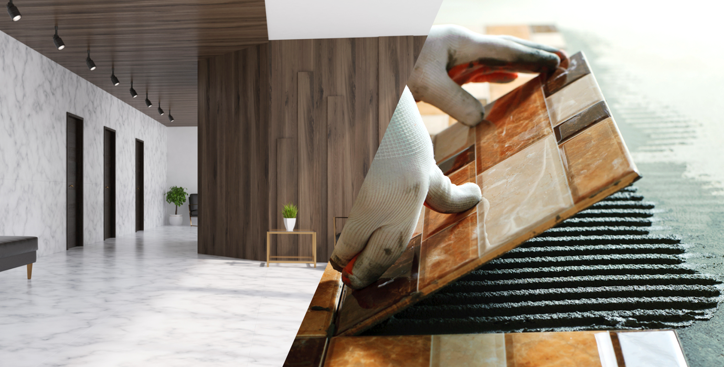
1) Tile and Marble Work: What It Includes
Tile and Marble Work covers more than just floors. In real projects, we typically see it used for: floors, walls, showers, backsplashes, stairs, countertops, and feature walls—sometimes all in one build.
Here’s the key difference: tile work (ceramic/porcelain) is generally tougher, more forgiving, and easier to maintain. Marble work brings natural beauty and veining, but it needs gentler handling, sealing, and the right cleaners to avoid staining and etching.
The biggest mistake I see? People pick a “pretty tile” first, then try to force it into the space. Planning should lead the decision—room conditions, traffic, water exposure, and cleaning habits matter more than the showroom photo.
2) Tile vs. Marble: The Real-World Comparison
When clients ask me which is “better,” I ask one question in return: Where is it going, and how do you live in that space? Tile and Marble Work succeeds when the material matches the job.
Skim-friendly comparison (mini table-style):
- Durability
- Tile (especially porcelain): strong, chip-resistant, great for busy areas
- Marble: can scratch/chip more easily; edges need care
- Water resistance
- Tile: excellent (with proper waterproofing underneath)
- Marble: stone is porous; water can darken/stain if not sealed
- Stain risk
- Tile: low (glazed porcelain is very stain-resistant)
- Marble: higher—especially with oils, makeup, wine, coffee
- Maintenance level
- Tile: easier, more “set it and forget it.”
- Marble: needs pH-neutral cleaning and periodic sealing
- Best uses by room
- Kitchen: porcelain tile floors + tile backsplash = practical
- Bathroom: tile walls/floors; marble can work with proper sealing
- Living areas: porcelain or marble, depending on traffic and style
- Outdoor: tile made for freeze/thaw; marble is tricky outdoors
- Design impact
- Marble: “luxury, one-of-a-kind” veining
- Tile: endless styles, including realistic marble-look options
- Budget ranges (why costs change
- Installation costs vary widely based on tile size, layout pattern, surface prep, waterproofing, and labor rates. Many homeowners see total installed costs of $5–$15/sq ft for basic tile, with higher-end installs going beyond that. Cost calculators for January 2026 show higher “all-in” estimates in some markets, depending on options and site conditions .
Bottom line: Tile is usually the low-stress choice. Marble is the wow choice—when you’re ready for the care.
3) Choosing the Right Material for Each Space
Smart Tile and Marble Work starts room by room.
Bathrooms and showers
For bathroom tile and marble work, the biggest factor isn’t the surface you see—it’s the system underneath. In wet zones, ask about:
- Slip resistance (matte or textured floors tend to be safer than polished)
- Waterproofing plan (membrane type and coverage)
- Grout choice (some grouts resist stains better than standard cement grout)
- Niches, benches, and corners (common leak points if rushed)
Also, 2026 bathroom design is leaning into bigger visual statements—like tiling more surfaces for a seamless “tile-drenched” look. It’s striking, but it raises the bar for waterproofing and layout accuracy.
Kitchens
- Floors: Porcelain is usually the workhorse.
- Backsplashes: great place to add texture or handmade-style tile (very on-trend for 2026)
- Marble countertops: beautiful, but be honest—if your kitchen is heavy-use, marble can etch and stain without the right habits and sealing routine .
High-traffic floors
For tile and marble flooring, porcelain typically wins on durability. Marble can still work, but choose finishes wisely—polished stone shows wear and can be slippery. Watch for edge chipping on stairs and at tight transitions.
Outdoor areas
Outdoor installs need materials rated for freeze/thaw, plus the right adhesives and movement planning. If your climate swings hot/cold, this is not the place to “wing it.”
Rule-of-thumb checklist:
Moisture + traffic + cleaning habits + budget → then choose the material.
4) Design That Looks Expensive (Even on a Budget)
You don’t need the most expensive stone to get a high-end look. Great Tile and Marble Work often comes from design decisions that feel intentional.
Layout patterns that raise perceived value
- Herringbone and chevron (strong visual movement)
- Brick/offset patterns (classic, hides minor variation)
- Large-format tile (fewer grout lines; very popular going into 2026)
Grout color strategy (huge impact, low cost)
- Matching grout = calmer, “seamless” look
- Contrasting grout = highlights pattern, adds energy
- Either way, consistent grout lines make the job look sharper than any fancy tile.
Where to splurge
- Feature wall (entry, fireplace surround)
- Shower floor or niche detail
- A bold backsplash behind the range
Where to save
Large floor areas: consider porcelain marble-look tile. You get the style without marble maintenance.
Pro tip from the field: keep transitions consistent (heights, trims, door thresholds) and align grout lines where rooms connect. That’s the detail people feel—even if they can’t explain why it looks “expensive.”
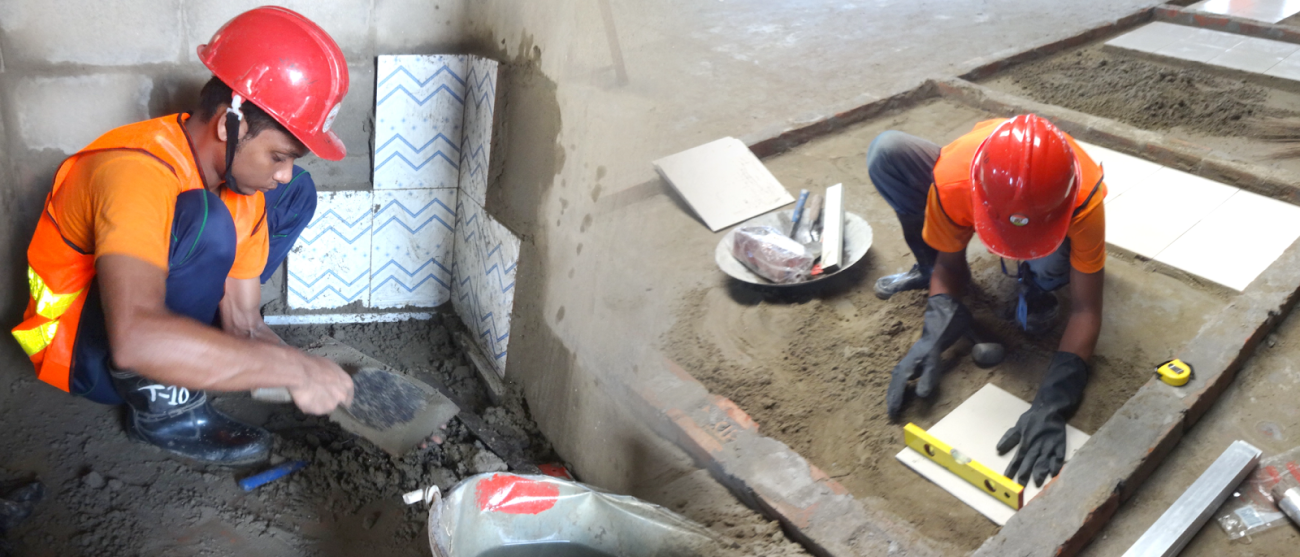
5) The Installation Blueprint: What Pros Do Differently
This is where Tile and Marble Work lives or dies. The best tile in the world won’t survive a bad substrate.
Prep: flatness, waterproofing, leveling
Pros obsess over flat surfaces. Large-format tile needs tighter flatness limits than small tile, or you’ll get lippage (uneven edges) . In wet areas, waterproofing isn’t optional—it’s the system that protects your home.
Adhesives and grout matched to the space
Wet areas, outdoor areas, and heavy-traffic zones can require different mortars and grouts. A one-size-fits-all approach usually leads to cracks or stains later.
Expansion joints and movement planning
Cracks often happen because the installation can’t move with the building. Movement joint guidance is a core part of professional methods, not a “nice-to-have.”
Marble-specific handling
Marble needs extra care:
- Proper sealing guidance and realistic expectations for upkeep
- Gentle cleaners only (no harsh acids)
- Extra attention to lippage on larger pieces
Shower drain slopes (a common failure point)
If the slope is wrong, water sits. If water sits, grout darkens, and mildew follows. A clean-looking shower should also drain cleanly—every time.
If you’re comparing bids for tile and marble installation, ask exactly what prep and waterproofing steps are included. That’s where quality lives.
6) Hiring a Tile and Marble Contractor: A Quick Vetting Checklist
If you want tile and marble work that lasts, hire for process—not just price.
What to ask
- Have you done projects like mine (size, material, wet areas)?
- What’s the timeline—and what causes delays?
- What materials are included (waterproofing, membranes, grout type, sealers)?
- What warranty do you offer on labor?
Must-see proof (don’t skip this)
Ask for close-up photos of:
- Outside corners and trim lines
- Tight grout joints and consistent spacing
- Shower niches and bench corners
- Drain area and floor slope transition.
Red flags
- No waterproofing plan in writing
- A vague quote like “install tile, all included.”
- Rushing prep (“we’ll just skim it”)
- Doesn’t mention movement joints at all
Quote structure (what good quotes include)
- Labor
- Materials (setting materials, grout, membranes)
- Prep/leveling work
- Disposal/cleanup
- Sealing (if marble or natural stone is used)
7) Maintenance: Keep Tile and Marble Looking New
Good Tile and Marble Work stays beautiful when maintenance is simple and consistent.
Tile care
- Clean grout regularly (small habits beat deep scrubbing)
- Vent bathrooms to prevent mildew
- Reseal grout only if your grout type requires it (ask your installer)
Marble care
- Use a pH-neutral cleaner only
- Wipe spills quickly (especially oils, wine, citrus)
- Follow a realistic sealing plan—many pros recommend sealing at install, then testing/resealing as needed
Do-not-use list
- Acidic cleaners (vinegar, lemon-based sprays) on marble
- Abrasive pads or harsh powders
- “One bottle cleans everything” products unless stone-safe
Quick CTA (Next Step)
If you’re planning a remodel or managing a commercial build-out, we can help you scope Tile and Marble Work the right way—materials, layout, install method, and a quote that’s clear enough to compare. Reach out for a site review or a bid checklist you can use with any contractor.
5 FAQs (Short, Google-friendly Answers)
1) What’s the biggest cause of tile failures?
Skipping prep. Uneven subfloors, rushed waterproofing, and missing movement joints are the main causes of cracks and loose tiles.
2) Is porcelain better than ceramic for floors?
Often, yes. Porcelain is usually denser and more durable, making it a strong pick for high-traffic floors and busy homes.
3) How often should marble be sealed?
Seal at installation, then use a simple water test and reseal when needed. Many guidance sources suggest resealing roughly every 6–12 months, depending on use and exposure.
4) What tile trends are showing up in 2026?
More texture, warmer neutrals, and bigger statement looks—like covering more bathroom surfaces in tile (“tile drenching”) and using handmade-style or imperfect finishes.
5) What drives the cost of tile installation the most?
Prep work, waterproofing, tile size, pattern complexity, and labor rates. Basic installs can be much cheaper than large-format, wet-area, or stone installs.