Blog
Villa Renovation Planning Guide for Dubai Homeowners 2026
A villa upgrade can improve comfort, function, storage, lighting, and long-term property value, but it becomes stressful when decisions are made too late. This villa renovation planning guide explains what to think through before you ask for quotes, approve designs, or begin site work.
Instead of starting with colors, tiles, or ceiling designs, start with the purpose of the renovation. Are you improving the villa for your family, preparing it for rental, updating an older layout, or fixing maintenance issues before they become larger problems? Once the reason is clear, every budget and material decision becomes easier.
 Why Planning Matters Before a Villa Renovation
 Why Planning Matters Before a Villa Renovation
Many homeowners begin with inspiration photos, but a good project begins with structure. A clear plan helps you avoid scope changes, rushed purchases, duplicate work, and delays caused by unclear responsibilities.
This villa renovation planning guide is designed to help you answer the key questions early:
- Which rooms need work first?
- Which upgrades are functional, cosmetic, or technical?
- What budget range is realistic?
- Will the work require community or authority approvals?
- Can the villa remain occupied during the renovation?
- Which materials are suitable for daily use in Dubai homes?
When these points are clear, discussions with designers, contractors, and fit-out teams become more productive.
Step 1: Define the Renovation Goal
Before collecting quotations, write a simple one-page brief. This does not need to be technical. It should explain what you want to improve and why.
Common villa renovation goals include:
- Creating a more open living and dining area
- Updating kitchens and bathrooms
- Improving lighting and ceiling design
- Replacing old flooring
- Adding storage or built-in wardrobes
- Refreshing interior and exterior paint
- Upgrading electrical, plumbing, or AC points
- Improving outdoor areas, shade, or façade appearance
A helpful rule is to separate “must-have” work from “nice-to-have” work. For example, waterproofing, plumbing, damaged tiles, and electrical safety should usually sit above decorative upgrades. This villa renovation planning guide recommends ranking every item by urgency, comfort, and long-term value.
Step 2: Create a Room-by-Room Scope
A room-by-room scope prevents confusion. Instead of saying “renovate the villa,” list what needs to happen in each area.
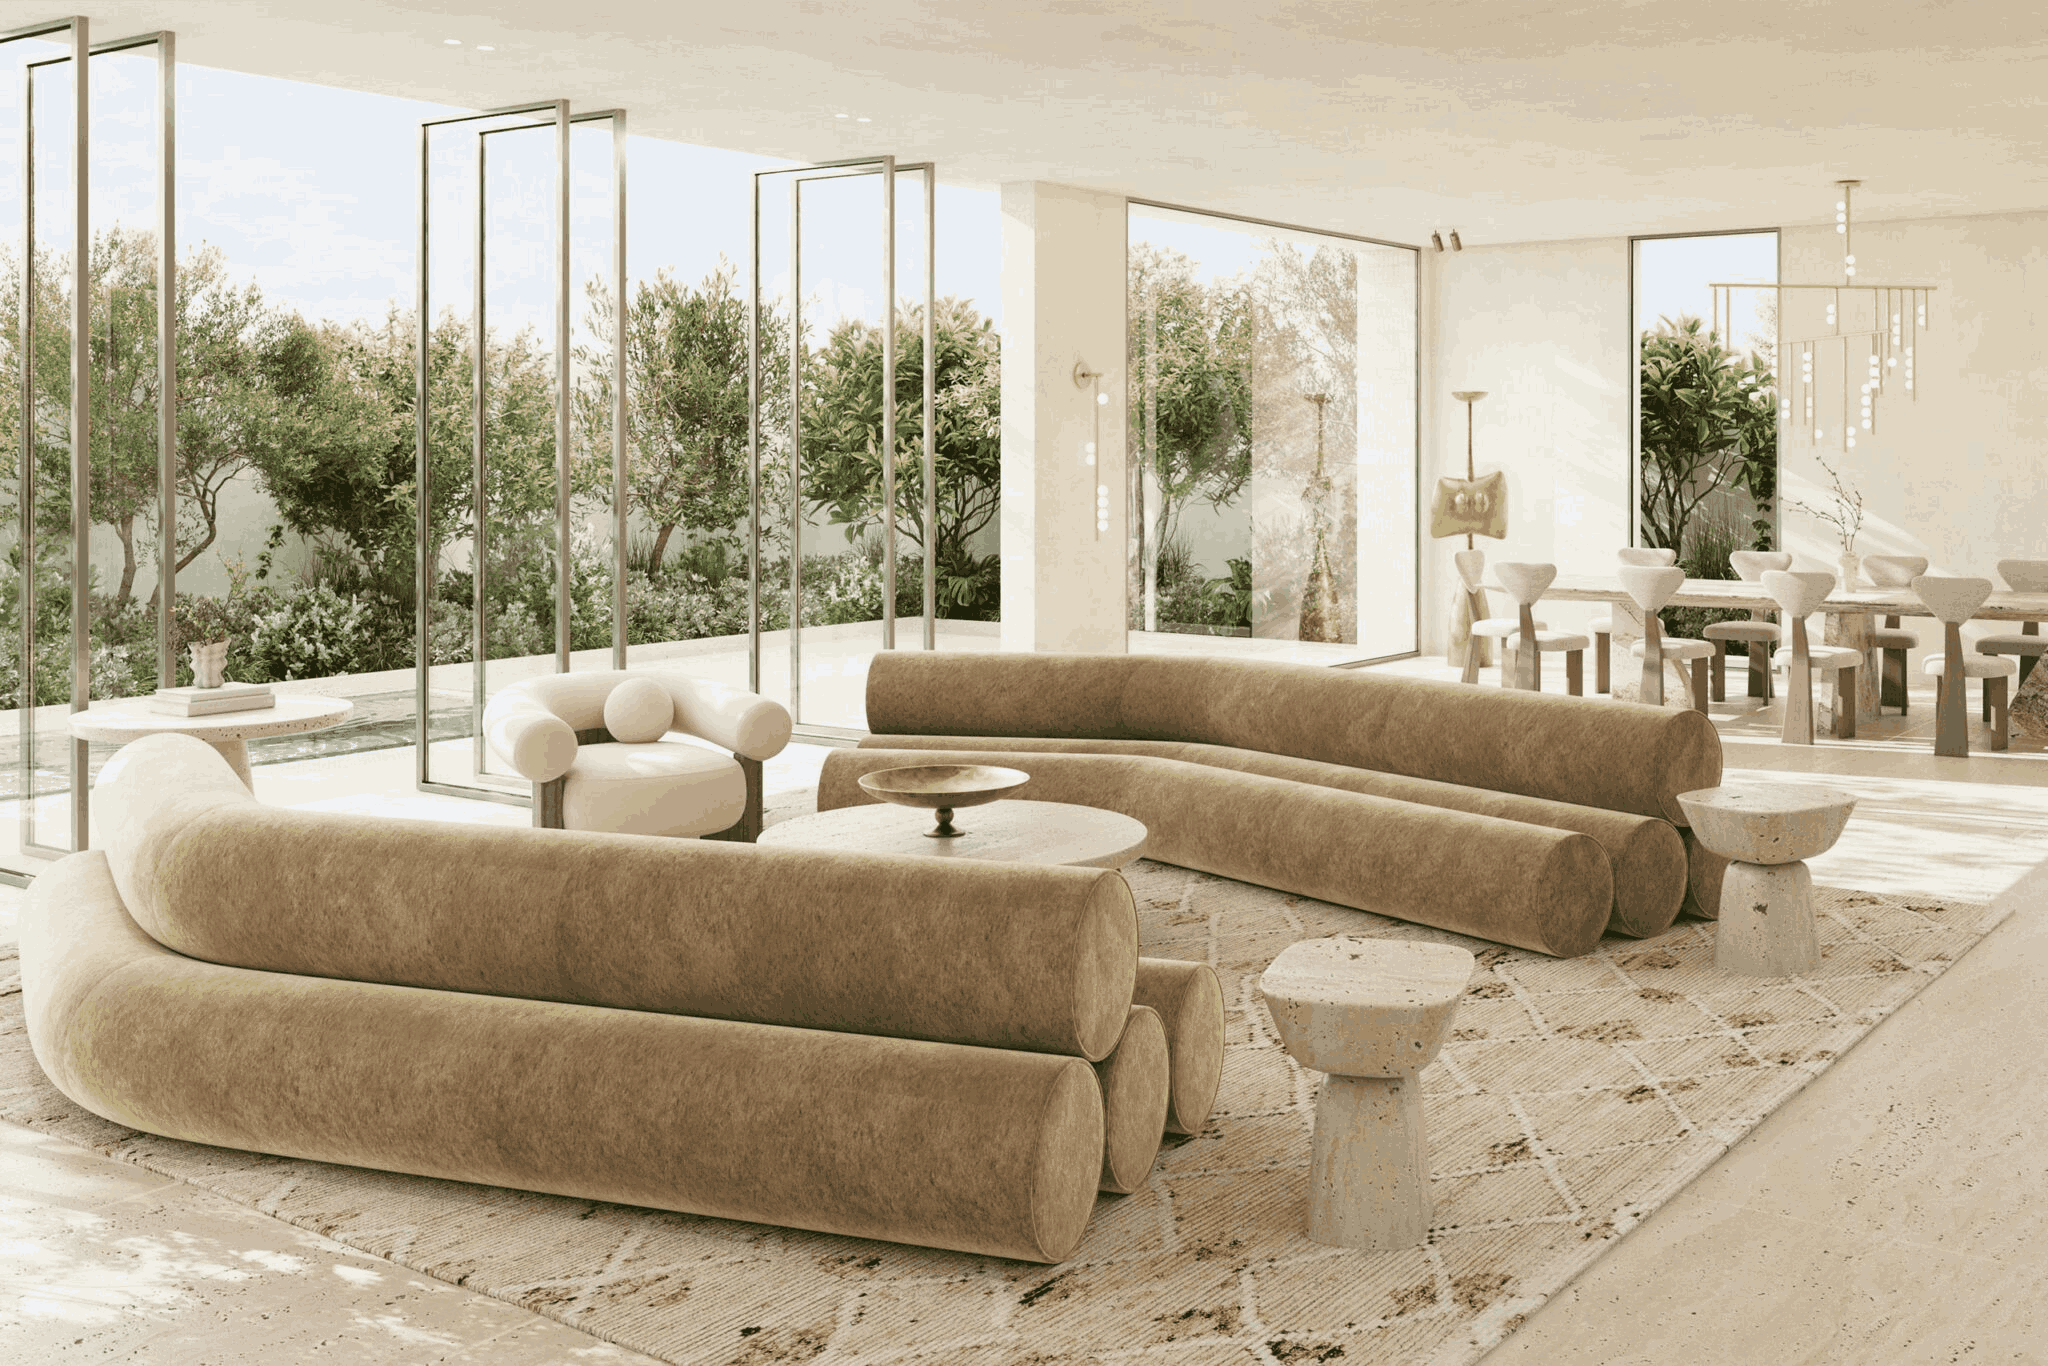
Living and Dining Areas
Decide whether you need new flooring, ceiling work, lighting changes, wall painting, feature walls, TV units, or layout adjustments. Think about daily movement, furniture size, and how natural light enters the space.
Kitchen
A kitchen plan should consider cabinetry, countertop material, sink position, appliance layout, ventilation, lighting, and electrical points. If the kitchen is being opened into the living area, check whether any wall changes need technical review.
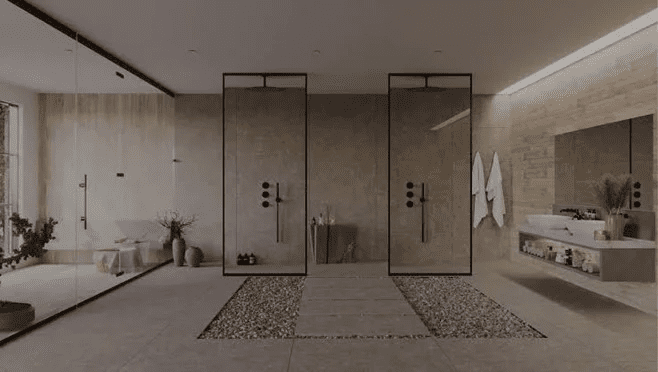
Bathrooms
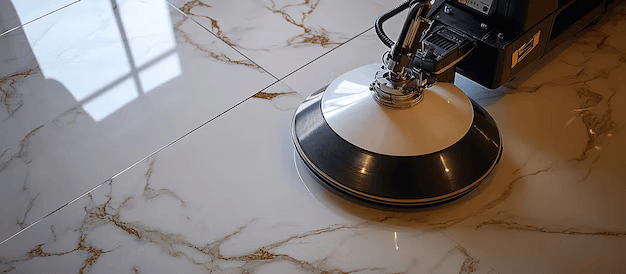
Bathroom upgrades should be planned carefully because waterproofing, plumbing, tile slopes, drainage, ventilation, and fittings all affect long-term performance. This is one area where low-quality work can become expensive later.
Bedrooms
Bedroom improvements often include wardrobes, wall finishes, flooring, lighting, curtains, and additional sockets. Prioritize storage and comfort before decorative details.
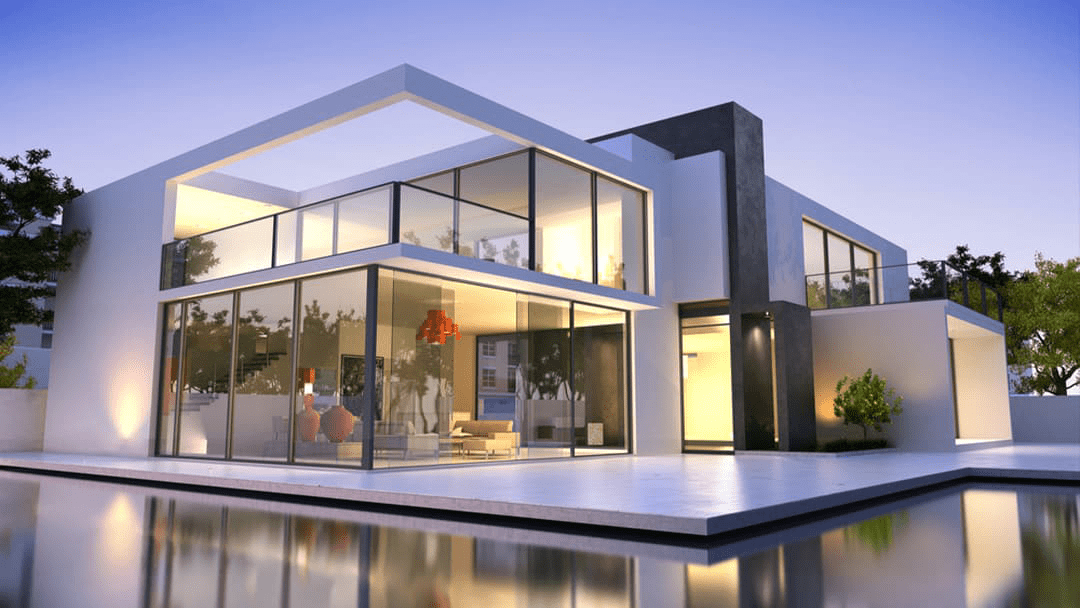
Exterior and Outdoor Areas
Exterior paint, pergolas, gates, doors, windows, outdoor tiles, and garden areas should be assessed together. External work may have community rules, especially in managed villa communities.
This approach works best when every room has a clear checklist before pricing begins.
Step 3: Understand the Difference Between Cosmetic, Functional, and Technical Work
Not every renovation item has the same level of complexity. Grouping your scope helps you understand cost, timing, and approval needs.
Cosmetic Updates
These include painting, wallpaper, feature walls, decorative lighting, minor carpentry, and soft finishing. Cosmetic work usually changes the look of the villa without major layout or system changes.
Functional Improvements
These include storage, flooring replacement, kitchen redesign, bathroom refurbishment, door changes, and improved lighting layouts. Functional upgrades affect how the home works day to day.
Technical or Structural Work
These may include wall changes, plumbing relocation, electrical upgrades, waterproofing, AC adjustments, façade changes, or extensions. These items need more planning and may require approvals, inspections, or specialist supervision.
A practical villa renovation planning guide should not treat all work equally. Technical items need more time, more detail, and more careful sequencing.
Step 4: Build a Realistic Budget Range
A renovation budget should include more than labor and materials. Homeowners should also allow for design choices, site preparation, temporary protection, debris removal, approvals where applicable, contingency, and final snagging.
A simple budget structure can include:
- Design or planning support
- Demolition and preparation
- Civil, MEP, and fit-out work
- Flooring, tiles, paint, and finishes
- Kitchen or bathroom fixtures
- Carpentry and storage
- Doors, windows, and exterior elements
- Cleaning, snagging, and handover
- Contingency for unexpected issues
For planning purposes, keep a contingency amount aside before the work begins. Older villas can reveal hidden issues once tiles, ceilings, cabinets, or walls are opened. This villa renovation planning guide suggests discussing possible hidden conditions before signing any agreement.
Step 5: Think About Timeline and Living Arrangements
The project timeline depends on the size of the villa, the number of rooms, material availability, approvals, and whether the work is phased. A single bathroom refresh is very different from a full villa upgrade involving kitchens, flooring, ceilings, painting, AC, and exterior work.
Before work starts, ask:
- Which areas will be completed first?
- Will noisy or dusty work happen during specific hours?
- Can the family stay in the villa safely?
- Where will furniture be stored?
- How will pets, children, or elderly family members be protected?
- What happens if imported materials are delayed?
If you plan to live in the villa during the work, phasing becomes important. This villa renovation planning guide recommends separating essential living zones from active construction areas whenever possible.
Step 6: Check Approval and Community Requirements Early
Dubai villas can fall under different community, developer, building, or authority requirements. The approval path depends on the location and the type of work. Cosmetic improvements may be simple, while structural changes, façade changes, extensions, or major MEP updates can require more documentation.
Before finalizing your plan, ask your community management or renovation team what documents may be needed. These could include drawings, method statements, contractor documents, NOCs, work permits, or inspection steps.
This villa renovation planning guide does not replace official approval advice, but it helps you avoid one common mistake: planning the design first and checking approval requirements too late.
Step 7: Compare Contractors Using the Same Scope
Comparing quotes is only useful when every contractor prices the same scope. If one quote includes surface preparation, waterproofing, material brands, debris removal, and snagging while another does not, the lower number may not be cheaper in real terms.
When reviewing proposals, compare:
- Scope of work
- Material specifications
- Timeline
- Payment schedule
- Warranty or defect support
- Site supervision
- Safety and protection measures
- Cleanup and handover process
- Exclusions and assumptions
A strong villa renovation planning guide should help homeowners ask better questions, not simply choose the lowest price.
Step 8: Choose Materials for Daily Use, Not Only Appearance
Materials should match lifestyle, cleaning habits, climate, and maintenance expectations. A finish that looks attractive in a showroom may not be ideal for a family villa with children, pets, frequent guests, or outdoor dust exposure.
Consider:
- Slip resistance for bathrooms and outdoor areas
- Heat and moisture resistance
- Ease of cleaning
- Scratch resistance
- Color consistency
- Availability of replacement pieces
- Compatibility with existing walls, floors, and fittings
This villa renovation planning guide encourages homeowners to request samples and view finishes under natural and artificial light before making final decisions.
Step 9: Plan the Work Sequence
Good sequencing prevents rework. For example, electrical and plumbing changes should be planned before ceilings, tiles, cabinets, and paint are finalized. Waterproofing should be tested before bathroom finishing continues. Flooring should be protected before major carpentry or painting activity continues.
A basic renovation sequence may include:
- Site inspection and measurements
- Scope finalization
- Material selection
- Approvals where required
- Protection and demolition
- MEP adjustments
- Civil and surface preparation
- Flooring, tiling, ceilings, and carpentry
- Painting and finishing
- Final cleaning, snagging, and handover
Sequencing belongs near the end because the scope, approvals, and materials must be clear before scheduling makes sense.
Step 10: Prepare a Snagging Checklist Before Handover.
Snagging is the final quality review before the villa is handed back. It helps identify small corrections before the project is considered complete.
Check:
- Paint finish and wall alignment
- Tile joints, slopes, and grout quality
- Door and cabinet alignment
- Lighting, switches, and sockets
- Plumbing flow and drainage
- AC airflow and thermostat operation
- Silicone, sealant, and edge finishing
- Exterior paint, doors, windows, and outdoor details
- Cleaning and removal of leftover materials
A final walkthrough protects both the homeowner and the renovation team because it records what needs correction clearly.
Where Ehsas Fits into the Planning Process
This article is written as an educational resource, not a sales page. However, once your checklist, scope, and priorities are clear, the next step is to speak with a team that can inspect the site and convert your plan into a practical work sequence.
For execution support across residential and commercial upgrades, visit the Fitout & Renovation service page. That page is the best destination for service-level information, while this villa renovation planning guide should support homeowners who are still researching, comparing, and preparing.
Quick Villa Renovation Checklist
Use this summary before requesting quotes:
- Define your renovation goal.
- List must-have and nice-to-have work
- Create a room-by-room scope
- Separate cosmetic, functional, and technical upgrades
- Set a budget range with contingency
- Check approval requirements early
- Compare contractors using the same scope
- Confirm materials before work starts
- Plan timeline and living arrangements
- Prepare a snagging checklist
This villa renovation planning guide can be saved and reused whenever you review quotes, compare material options, or discuss timelines with a renovation team.
Frequently Asked Questions
What should I plan first before renovating a villa?
Start with your goal, budget range, and room-by-room scope. Do not begin with materials only. A clear scope helps you compare quotations properly and avoid changes during the work.
How do I know whether my villa renovation needs approval?
Approval needs depend on your villa location and the type of work. Painting and simple interior updates may be straightforward, while wall changes, façade updates, extensions, and major MEP work may require approvals. Check early with your community management or renovation team.
Should I renovate the whole villa at once or in phases?
Phasing can help if you are living in the villa or managing a budget carefully. A full renovation may be more efficient when flooring, ceilings, plumbing, electrical, and painting affect several rooms at the same time.
How can I compare villa renovation quotes fairly?
Give every contractor the same scope and ask for clear inclusions, exclusions, material details, timeline, supervision process, and payment schedule. This makes the comparison more accurate.
What is the biggest mistake homeowners make during planning?
The most common mistake is changing the scope after work starts. Late changes can affect cost, timeline, material orders, and sequencing. A detailed plan reduces those risks.
When should I contact a renovation company?
Contact a renovation company after you have a basic wish list, budget range, and priority areas. You do not need final drawings to start the conversation, but the clearer your brief is, the more useful the site visit will be.
Final Takeaway
A successful villa upgrade starts before the first tile is removed or the first wall is painted. Clear goals, a defined scope, realistic budgeting, approval checks, material planning, and proper snagging all reduce stress.